SMR, also known as foam rolling, is a technique specifically targeting these fascial systems that have been negatively impacted through repetitive motions, poor posture, and improper exercise techniques. This cycle starts out with inflammation which then leads to the development of soft tissue adhesions “knots or trigger points” and therefore, limiting range of motion.
Benefits of SMR.
- Helps to improve range of motion
- Decreases effects of stress on the human movement system
- Aids in correcting muscle imbalances
- Increases blood flow to aid in overall recovery
- Reduces soreness
When should it be done?
SMR should be done before any type of static or dynamic stretching. When done first, the SMR helps the muscle tissue to lengthen while you engage in the other stretching afterward. Ideally, you should be foam rolling every single day.
How to do it correctly.
Relax your body while slowly rolling along the muscle you are targeting. It is important to keep the muscle relaxed. Once you hit a “trigger point” or area that is sore, stop rolling and remain on that point for 30–90 seconds. You will then feel the “trigger point” release, thus successfully completing self-myofascial release for that specific area. Some muscles will have muscle trigger points, so take your time and do not rush. After successfully doing SMR, you will notice that the number of trigger points you have is decreasing and it will start to become less uncomfortable.
- Tip #1: Maintain core activation while foam rolling. This will aid in the activation of the correct muscles and help you keep the correct posture.
- Tip #2: Avoid rolling over any joints or bones. This can lead to injury.
- Tip #3: Some muscles may require that you use more or less pressure while rolling. Listen to your body and adjust pressure accordingly.
Calves (gastrocnemius and soleus)
Start by sitting on your glutes. Place the foam roller under your calves. Use your hands to assist as you gradually elevate your body while activating your core. Slowly roll across your calves, targeting any “trigger points” you may find. Cross one leg over the other to increase pressure if needed.
Hamstrings

Start by sitting on your glutes. Place the foam roller directly under your extended leg where your hamstrings meet your glutes, with the other leg bent to a 90-degree angle. Use your hands to assist as you gradually elevate your body while activating your core. Start by slowly rolling backward. Finish rolling directly above the back of your knee.
Quadriceps
Start by laying down on your stomach. Place the foam roller under your leg, starting below your hip joint. Press your body up on your forearms while activating your core. Slowly roll your body forward until you finish directly above the knee.
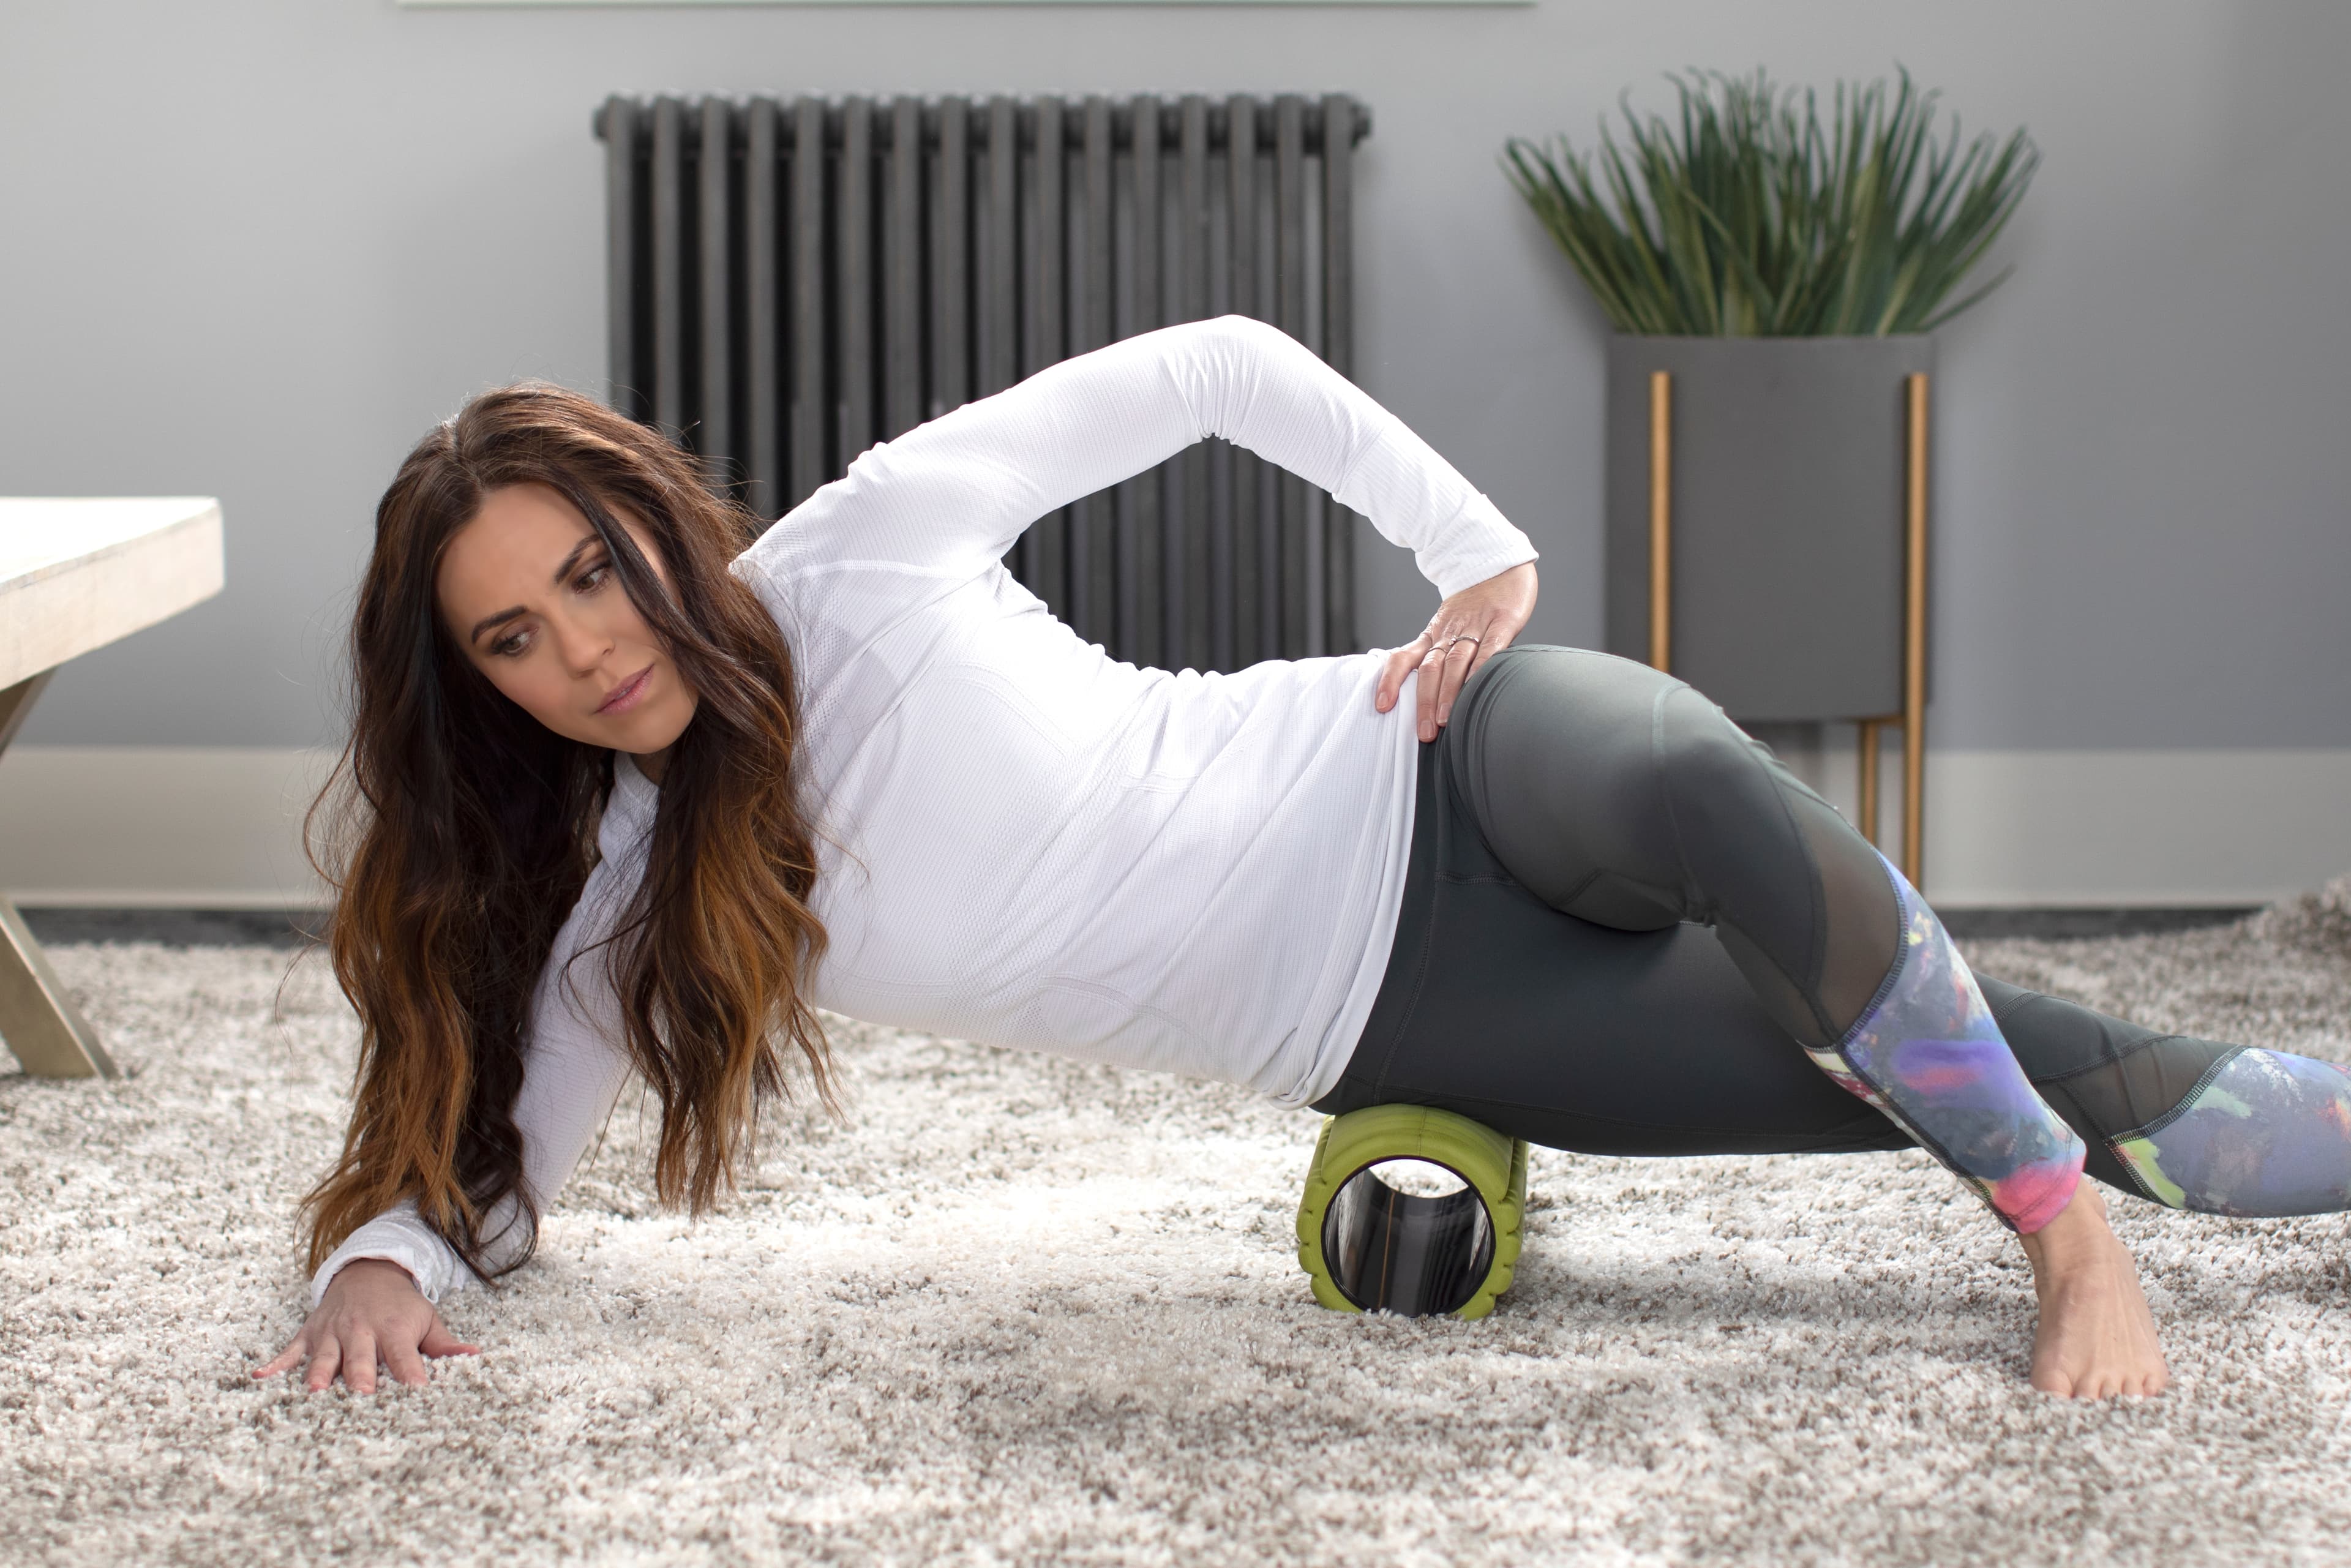
IT Band
Lay on your side, place the foam roller on the outer thigh/IT band while supporting your body weight with your arms and legs. Starting at the base of your outer leg, by your hip, slowly roll back and forth along the length of the outer leg.
Glutes
Place foam roller below the glutes (essentially, sit on the foam roller). Using your arms to support your body, slowly roll back and forth along the glutes. Keep in mind that your glutes may need extra attention, as they are a key muscle group for mobility, stability, and posture.
Latissimus Dorsi (lats)
Start by lying on your side with your arm extended. Place the foam roller perpendicular to your body under your armpit. Slowly roll back and forth along the side of your torso until you find a tender spot. This may take some practice or feel a little awkward at first but will help loosen up those muscles that are often difficult to target.
Thoracic Spine (upper back)
Place the foam roller under your mid-back while laying on the ground. Next, lift your glutes off the ground in a half bridging position by engaging your core and pulling your belly button to your spine. Put your hands behind your ears, with your elbows facing out. The goal is to have your chest open up. Slowly roll along your thoracic spine (upper back), stopping at each trigger point you may find.
There you have it! SMF (foam rolling) is a great tool to use not only as recovery after a workout but should be added as part of your everyday routine. Keep rolling!
You might also like
Strength Training While on GLP-1: A 6-Week Plan
When your body weight changes, you aren’t just losing fat—research shows you risk losing lean muscle mass, too. Protecting that muscle is the key to maintaining your metabolism and everyday strength. This practical 6-week guide breaks down exactly how to structure a simple, 20-to-30 minute full-body strength routine 2–3 times a week. Built around foundational compound movements like squats and rows, this plan shows you how to safely implement progressive overload without burning out your energy. Give your body a clear signal to keep its muscle and build a routine that sticks.
May 26, 2026

Find Your Stride with Tommy Rivs in the Joy of Running Part 2: Redwoods, Workouts 1-10
There’s just something magical about taking your next step forward, especially when it means you’re surrounded by the towering redwoods and rugged beauty of California’s northern coast. iFIT Trainer Tommy Rivs’ newest series will help you experience the magic of this region with the Joy of Running Part 2: Redwoods, Workouts 1-10. This beginner-friendly program is designed to help you progress from walking to running at your own pace.Explore California’s Scenic CoastSet along breathtaking coastal trails and through scenic redwood groves, this series brings the natural beauty of Northern California to your treadmill. From the peaceful paths of Laguna Point to the rolling meadows of Mendocino Headlands, each workout is an opportunity to breathe, move, and connect with the pure joy of movement.Make Progress with Tommy RivsKnown for his thoughtful coaching and love of movement, Tommy Rivs will guide you through a mix of walking and running intervals to gradually build your endurance and confidence. Each workout keeps the speed steady while changing your movement so you can focus on how your body feels and adapts as you move.Whether you’re returning to fitness or taking your first steps toward running, this series is all about moving forward with purpose. Tommy will help you to:Develop endurance and build strength with progressive intervalsImprove your form and consistency with his expert guidanceReconnect with the joy of movement in an inspiring settingBuild confidence to take on your next running challengeThis is only the beginning; there’s so much more to come with Rivs. For now, lace up those shoes and join him for an incredible journey amongst the redwoods.Join Tommy Rivs in the Redwoods
November 3, 2025
.jpg&w=3840&q=75)
Trainer Games Complete Collection: Every Workout. Every Episode. One Epic Experience.
Experience the full intensity of Trainer Games in one place. The Trainer Games Complete Collection brings every episode, workout, and behind-the-scenes moment together inside the iFIT fitness app, so you can train, watch, and stay inspired alongside elite trainers from start to finish.
February 16, 2026